Apple Crisp Cheesecake
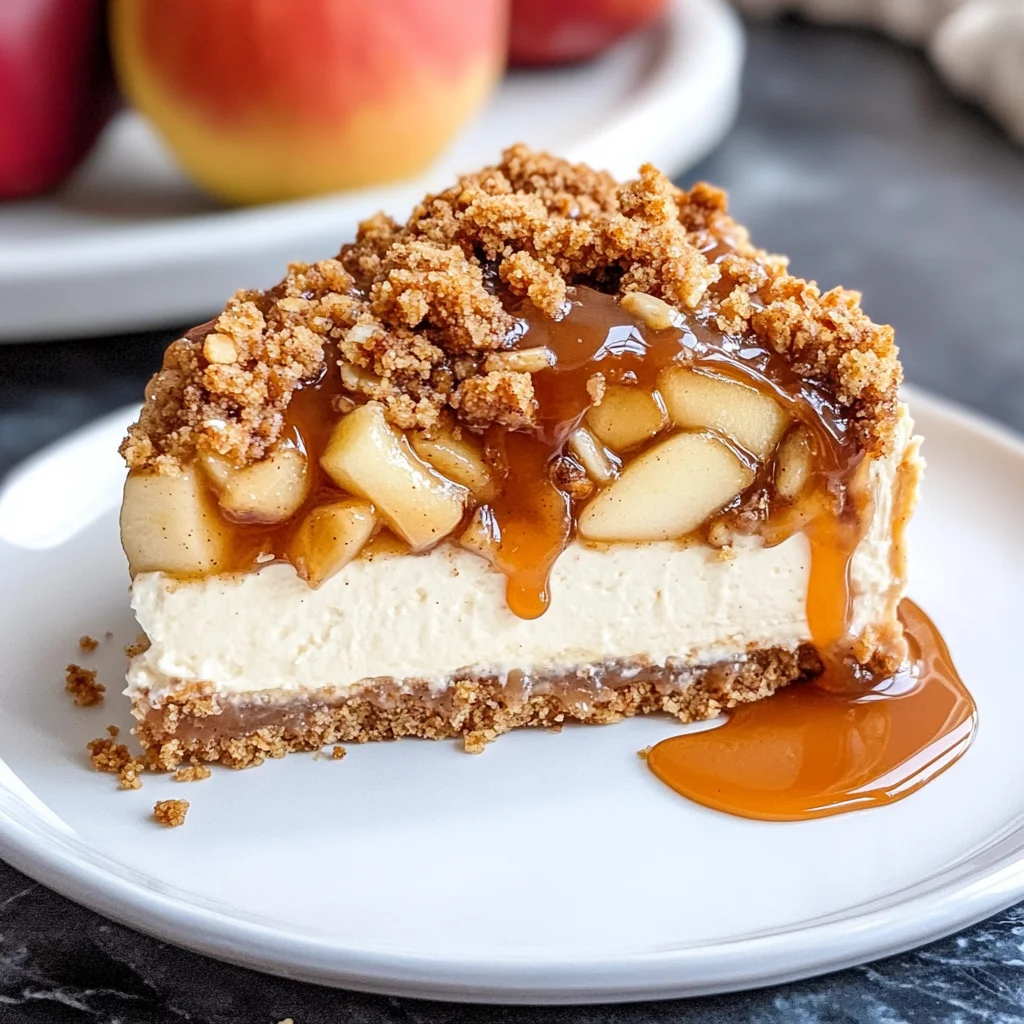
If you’re looking for a dessert that feels like a warm hug on a chilly day, then you’ve found it! This Apple Crisp Cheesecake is not just another dessert; it’s a delightful combination of creamy cheesecake, spiced apples, and a crunchy oatmeal topping. Every bite is like autumn on your plate. It’s perfect for family gatherings, cozy weeknights, or whenever you need a little sweetness in your life.
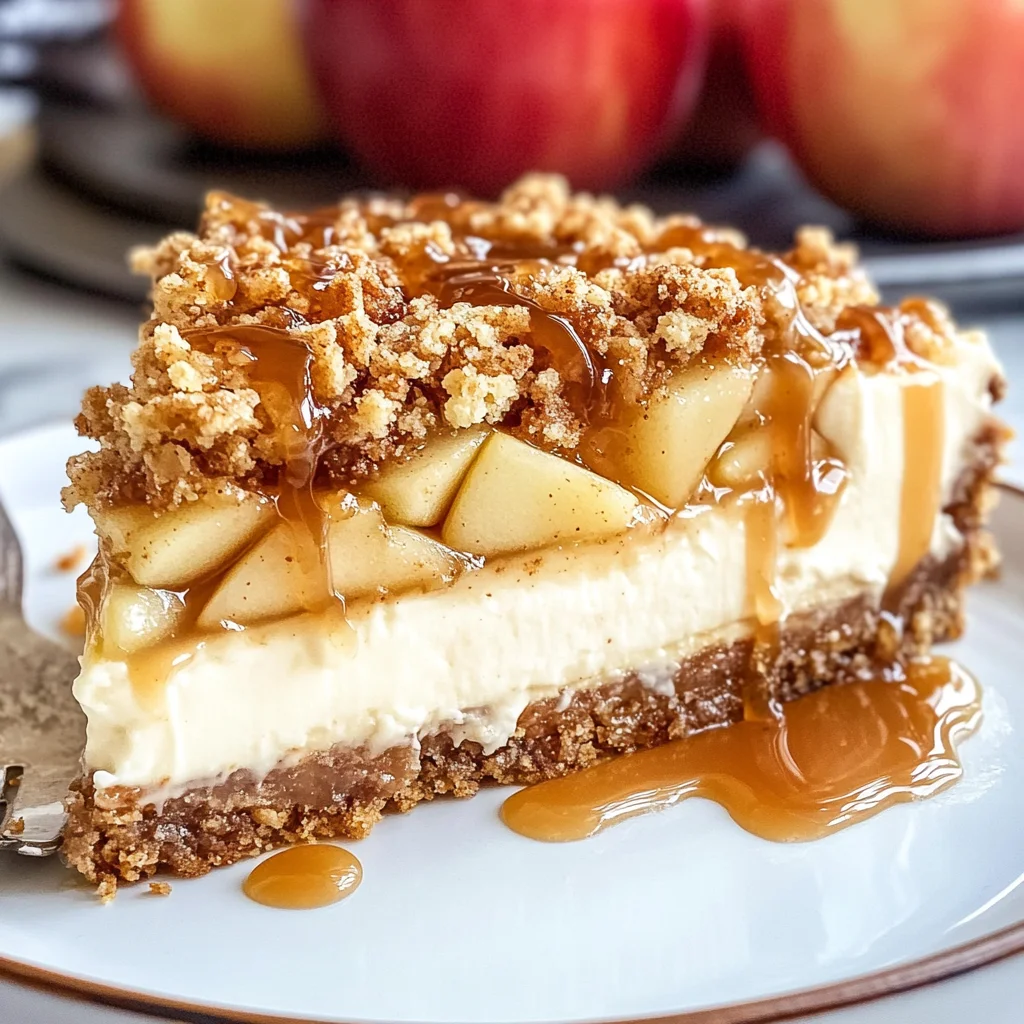
What makes this recipe so special is its balance of flavors and textures. The thick graham cracker crust provides a solid base, while the tangy vanilla cheesecake perfectly complements the cinnamon-spiced apples. And let’s not forget about that oatmeal crumble on top! You can even drizzle some salted caramel over it for an extra touch of indulgence. Trust me, everyone will be asking for seconds!
Why You’ll Love This Recipe
- Deliciously Creamy: The blend of cream cheese and sour cream creates a smooth texture that melts in your mouth.
- Easy to Make: With straightforward steps and simple ingredients, this recipe is perfect even for beginner bakers.
- Family-Friendly: Everyone loves cheesecake, and this twist with apple crisp is sure to please both kids and adults alike!
- Make-Ahead Option: This dessert can be made in advance, making it ideal for busy schedules or special occasions.
- Flavorful Fall Treat: The combination of apples and cinnamon brings warmth and comfort – perfect for those cooler months!
Ingredients You’ll Need
Let’s gather our simple, wholesome ingredients to create this amazing Apple Crisp Cheesecake. You’ll find everything you need right here to whip up this delicious treat!
For the Crust
- 3 cups graham crumbs
- 3 tablespoons brown sugar
- 1/2 teaspoon cinnamon
- 1/2 cup unsalted butter (melted)
For the Apple Filling
- 2 large apples (I recommend Granny Smith or Gala)
- 2 tablespoons brown sugar
- 1 1/2 teaspoons cinnamon
For the Oatmeal Crumble Topping
- 1/2 cup all-purpose flour
- 1/2 cup brown sugar
- 1 teaspoon cinnamon
- 1/2 cup quick oats
- 1/4 cup unsalted butter (melted)
For the Cheesecake Filling
- 24 ounces full-fat cream cheese (room temperature)
- 3/4 cup granulated sugar
- 1/4 cup brown sugar
- 1/2 teaspoon cinnamon
- 1 tablespoon cornstarch (or 2 tablespoons all-purpose flour)
- 1 teaspoon vanilla extract
- 1/2 cup sour cream (room temperature)
- 3 large eggs (room temperature)
Other
- Boiling water (for the water bath)
- Salted caramel sauce (for drizzling)
Variations
One of the best things about this Apple Crisp Cheesecake is how flexible it is! Feel free to get creative with these fun twists:
- Add Nuts: Toss in some chopped walnuts or pecans for an extra crunch in the topping.
- Try Different Fruits: Swap out the apples for pears or berries if you want to mix things up!
- Make it Gluten-Free: Use gluten-free graham crumbs and flour to cater to gluten-sensitive friends.
- Spice it Up: Experiment with different spices like nutmeg or allspice for added flavor depth.
How to Make Apple Crisp Cheesecake
Step 1: Prepare the Oven and Pan
Preheat your oven to 350F (180C). Wrapping your springform pan with tin foil helps prevent any water from seeping in during baking. It’s important because we want our cheesecake to stay nice and creamy without any soggy bottoms!
Step 2: Make the Crust
In a mixing bowl, combine graham crumbs, brown sugar, cinnamon, and melted butter. Mix until everything is well combined; it should feel like damp sand. Press this mixture firmly into the bottom of your prepared springform pan. This crust will hold everything together beautifully.
Step 3: Prepare the Apple Filling
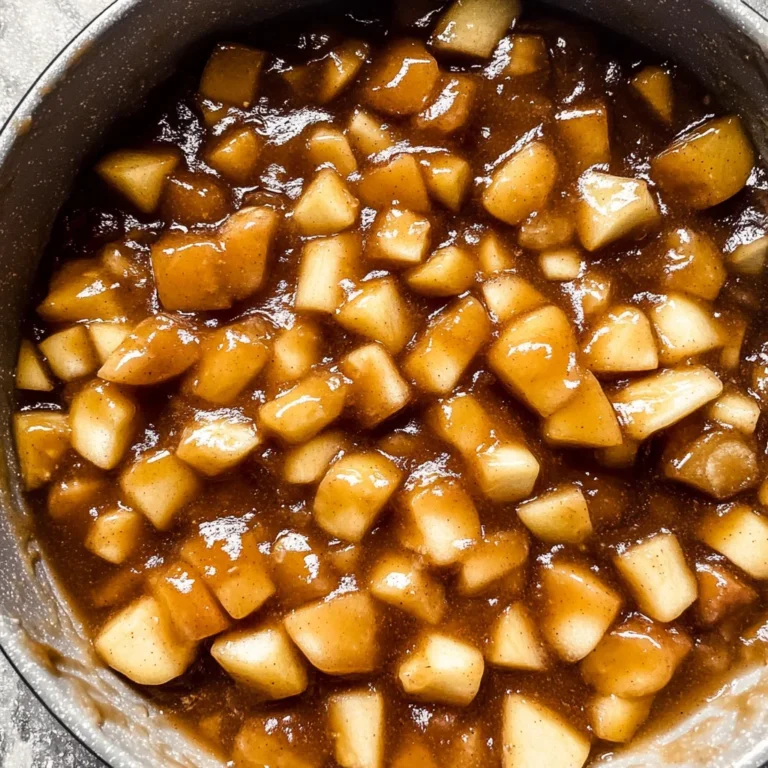
Peel and slice your apples thinly. In another bowl, toss them with brown sugar and cinnamon until evenly coated. This step infuses them with sweet flavor that pairs perfectly with the cheesecake.
Step 4: Create the Oatmeal Crumble
Mix together flour, brown sugar, oats, cinnamon, and melted butter until crumbly in texture. This will give us that delicious crunchy topping we love so much!
Step 5: Beat the Cheesecake Filling
In a large mixing bowl, beat room temperature cream cheese until smooth. Gradually add granulated sugar and brown sugar while mixing well. Then add cornstarch (or flour), vanilla extract, sour cream, eggs one at a time—mixing just enough to combine after each addition—ensuring no lumps remain.
Step 6: Assemble It All Together
Pour half of the cheesecake filling into your crust-filled pan. Layer half of the apple mixture over it followed by half of your crumble topping. Repeat with remaining filling, apples, and crumble.
Step 7: Bake in Water Bath
Place your springform pan inside another larger pan filled with boiling water halfway up its sides—this water bath helps cook the cheesecake gently for a silky texture! Bake for about 55 minutes or until set but slightly jiggly in center.
Step 8: Cool Down
Once baked, turn off oven but leave cheesecake inside with door ajar for an additional hour—it helps prevent cracking! Afterward remove from oven & cool at room temperature before refrigerating overnight.
Now you’re ready to enjoy this delightful Apple Crisp Cheesecake! You can serve it plain or drizzle some salted caramel on top as an extra treat. Enjoy every bite!
Pro Tips for Making Apple Crisp Cheesecake
Creating an Apple Crisp Cheesecake may seem daunting, but with a few helpful tips, you can ensure a delicious outcome that impresses everyone!
-
Use room temperature ingredients: This includes cream cheese, eggs, and sour cream. Room temperature ingredients blend more easily, resulting in a smoother cheesecake batter without lumps.
-
Don’t skip the water bath: Wrapping your springform pan in foil and placing it in a water bath helps maintain an even baking temperature. This prevents cracks and keeps your cheesecake creamy and moist.
-
Let it cool gradually: After baking, turn off the oven and crack the door open slightly to let the cheesecake cool slowly. Rapid temperature changes can cause cracks on the surface.
-
Refrigerate before serving: Allowing the cheesecake to chill in the fridge for at least 4 hours (or overnight) helps it set properly and enhances the flavors. It also makes cutting easier!
-
Experiment with apples: While Granny Smith and Gala are great choices, feel free to mix different varieties for added flavor complexity. A blend of sweet and tart apples can elevate your dessert!
How to Serve Apple Crisp Cheesecake
Presentation is key when it comes to serving this delightful dessert! Here are some creative ideas to make your Apple Crisp Cheesecake shine at any gathering.
Garnishes
-
Whipped cream: A dollop of homemade whipped cream adds lightness and sweetness that perfectly complements the rich cheesecake.
-
Chopped nuts: Sprinkle some toasted walnuts or pecans on top for an extra crunch and nutty flavor that pairs beautifully with the apple filling.
Side Dishes
-
Vanilla ice cream: The classic pairing! A scoop of vanilla ice cream melts beautifully over warm slices of cheesecake, creating a delightful contrast in temperatures and textures.
-
Fresh fruit salad: A light fruit salad made with seasonal fruits provides a refreshing balance to the richness of the cheesecake. Opt for apples, berries, or citrus fruits for a burst of color.
-
Coffee or chai tea: Serving your cheesecake alongside a warm cup of coffee or spiced chai tea enhances the cozy flavors of apple and cinnamon, making it perfect for fall gatherings.
Each of these ideas brings something special to your Apple Crisp Cheesecake experience, ensuring that every bite is memorable! Enjoy your baking adventure!
Make Ahead and Storage
This Apple Crisp Cheesecake is perfect for meal prep, as it can be made in advance and stored for later enjoyment. You can easily prepare it ahead of time for gatherings, celebrations, or just to treat yourself throughout the week!
Storing Leftovers
- Allow the cheesecake to cool completely at room temperature.
- Cover the cheesecake tightly with plastic wrap or aluminum foil.
- Store in the refrigerator for up to 5 days.
Freezing
- After the cheesecake has cooled completely, slice it into individual portions if desired.
- Wrap each slice in plastic wrap and then place them in an airtight container.
- Freeze for up to 3 months. To enjoy later, simply thaw in the refrigerator overnight.
Reheating
- For best results, let the cheesecake sit at room temperature for about 30 minutes before serving.
- If you prefer warm cheesecake, preheat your oven to 300F (150C).
- Place a slice on an oven-safe dish and warm for about 10-15 minutes until heated through.
FAQs
Here are some common questions people have about Apple Crisp Cheesecake.
Can I make Apple Crisp Cheesecake gluten-free?
Yes! You can substitute graham cracker crumbs with gluten-free options such as almond flour or gluten-free cookie crumbs. Just ensure that all other ingredients are also gluten-free.
How do I store leftover Apple Crisp Cheesecake?
To keep your cheesecake fresh, cover it tightly and refrigerate for up to 5 days. For longer storage, consider freezing individual slices.
What can I serve with Apple Crisp Cheesecake?
This delicious dessert pairs wonderfully with a drizzle of salted caramel sauce or a dollop of whipped cream. Fresh apple slices also make a lovely garnish!
Can I use different types of apples in my Apple Crisp Cheesecake?
Absolutely! While Granny Smith and Gala apples are recommended for their balance of tartness and sweetness, feel free to experiment with other varieties like Honeycrisp or Fuji.
Final Thoughts
I hope this Apple Crisp Cheesecake brings warmth and joy to your kitchen! With its creamy filling, spiced apples, and crumbly topping, it’s truly a showstopper. Whether you’re baking it for a special occasion or just because you deserve a delicious treat, I’m sure you’ll love making—and sharing—this delightful dessert. Happy baking!
Apple Crisp Cheesecake
Indulge in the warmth of autumn with our Apple Crisp Cheesecake. This delightful dessert combines creamy cheesecake, spiced apples, and a crunchy oatmeal topping, making it the perfect treat for family gatherings or cozy evenings at home. The rich flavors of cinnamon and apple come together beautifully in this layered dessert, offering a comforting experience with every bite. It’s easy to prepare and can be made ahead of time, ensuring you have more moments to enjoy with loved ones. Drizzle it with salted caramel for an extra touch of sweetness that everyone will love.
- Prep Time: 30 minutes
- Cook Time: 55 minutes
- Total Time: 1 hour 25 minutes
- Yield: Serves approximately 10 slices 1x
- Category: Dessert
- Method: Baking
- Cuisine: American
Ingredients
- 3 cups graham crumbs
- 3 tablespoons brown sugar
- 1/2 teaspoon cinnamon
- 1/2 cup unsalted butter (melted)
- 2 large apples (Granny Smith or Gala)
- 2 tablespoons brown sugar
- 1 1/2 teaspoons cinnamon
- 1/2 cup all-purpose flour
- 1/2 cup brown sugar
- 1 teaspoon cinnamon
- 1/2 cup quick oats
- 1/4 cup unsalted butter (melted)
- 24 ounces full-fat cream cheese (room temperature)
- 3/4 cup granulated sugar
- 1/4 cup brown sugar
- 1/2 teaspoon cinnamon
- 1 tablespoon cornstarch (or 2 tablespoons all-purpose flour)
- 1 teaspoon vanilla extract
- 1/2 cup sour cream (room temperature)
- 3 large eggs (room temperature)
- Boiling water (for the water bath)
- Salted caramel sauce (for drizzling)
Instructions
- Preheat your oven to 350F (180C). Wrap the springform pan in foil to prevent water from seeping in.
- In a bowl, combine graham crumbs, brown sugar, cinnamon, and melted butter; press into the bottom of the springform pan.
- Toss sliced apples with brown sugar and cinnamon until coated.
- Make the oatmeal crumble by mixing flour, brown sugar, oats, cinnamon, and melted butter until crumbly.
- Beat cream cheese until smooth; gradually add sugars, cornstarch (or flour), vanilla extract, sour cream, and eggs until combined.
- Layer half of the cheesecake filling over the crust, followed by half of the apples and half of the crumble. Repeat.
- Place the springform pan in a larger pan filled halfway with boiling water; bake for about 55 minutes until set but slightly jiggly.
- After baking, let cool in the oven with the door ajar for an hour before refrigerating overnight.
Nutrition
- Serving Size: 1 slice (125g)
- Calories: 360
- Sugar: 24g
- Sodium: 210mg
- Fat: 22g
- Saturated Fat: 10g
- Unsaturated Fat: 10g
- Trans Fat: 0g
- Carbohydrates: 36g
- Fiber: 2g
- Protein: 6g
- Cholesterol: 100mg


