Chocolate Cream Cheese Danish
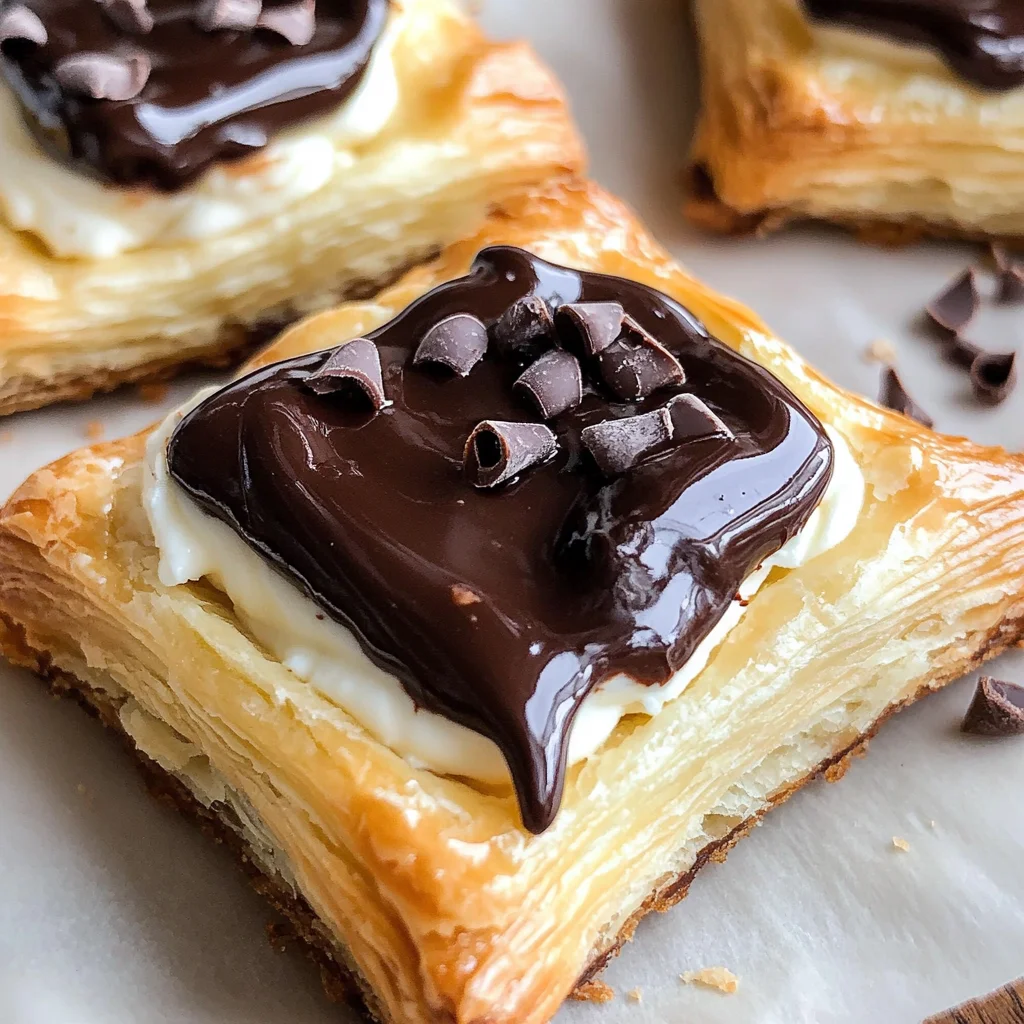
If you’re looking for a delightful treat that feels special yet is surprisingly easy to whip up, you’re in the right place! These Chocolate Cream Cheese Danishes are a favorite in my house. They combine the flaky goodness of puff pastry with a rich cream cheese filling and luscious chocolate ganache. Perfect for busy weeknights or family gatherings, these danishes are sure to impress everyone at the table.
The best part? You can enjoy them fresh out of the oven or make them ahead of time. Whether you’re serving them for breakfast, brunch, or dessert, they are bound to bring smiles all around!
Why You’ll Love This Recipe
- Easy Preparation: Using frozen puff pastry makes this recipe a breeze. No need to spend hours making dough from scratch!
- Family-Friendly Appeal: The combination of cream cheese and chocolate is a crowd-pleaser that kids and adults alike will adore.
- Make-Ahead Convenience: You can prepare these danishes ahead of time and simply bake them when you’re ready to enjoy.
- Delicious Flavor: The blend of creamy filling topped with rich chocolate ganache creates an irresistible dessert experience.
Ingredients You’ll Need
These simple, wholesome ingredients come together beautifully in this recipe. Let’s gather what we need to create these delicious Chocolate Cream Cheese Danishes!
For the Danish
- 2 Frozen puff pastry sheets
- 8 oz Cream cheese (room temperature)
- 1/3 cup White granulated sugar
- 2 tsp Pure vanilla extract
- 1 Large egg (for egg wash)
- 1 tsp Water (for egg wash)
For the Ganache
- 1 cup Semi-sweet chocolate chips
- 3/4 cup Heavy cream
Variations
One of the best things about this recipe is its flexibility! Feel free to mix it up based on your tastes or what you have on hand:
- Add Fruit: Toss in some fresh berries or sliced bananas into the cream cheese filling for a fruity twist.
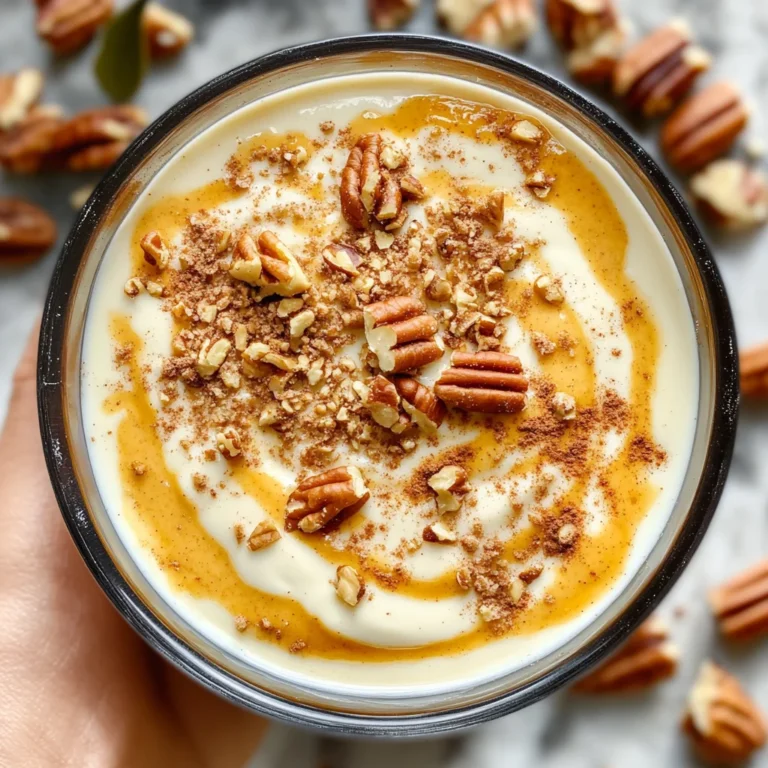
- Nutty Crunch: Sprinkle chopped nuts like almonds or walnuts on top of the chocolate ganache for added texture.
- Try Different Chocolates: Use milk chocolate or dark chocolate instead of semi-sweet for a different flavor profile.
- Spice It Up: Add a pinch of cinnamon or nutmeg to the cream cheese mixture for a warm, cozy flavor.
How to Make Chocolate Cream Cheese Danish
Step 1: Thaw the Puff Pastry
Place your frozen puff pastry on the counter for about 30 minutes to thaw. This step is crucial as it allows the pastry to become pliable and easier to work with.
Step 2: Prepare the Chocolate Ganache
While you wait for the pastry, let’s make that silky chocolate ganache! Pour your chocolate chips into a bowl. Then, heat heavy cream in a saucepan over medium-low heat until it’s steaming (but not boiling). Pour that hot cream over the chocolate chips and let it sit for about 1 minute and 30 seconds before stirring gently until smooth. If there are still chunks of chocolate, pop it in the microwave at 15-second intervals until fully melted. Allow it to cool at room temperature until it reaches a pudding-like texture — this is key for that perfect topping!
Step 3: Make the Cream Cheese Filling
In a small bowl, grab your hand mixer and beat the room-temperature cream cheese on high speed for about 1 minute until smooth. Next, add in your sugar and beat again until combined. Finally, mix in your vanilla extract — this will add such a lovely flavor!
Step 4: Shape Your Pastry
On a lightly floured surface, lay out your thawed puff pastry sheets. Gently push any seams together with your fingers. Use a sharp knife to cut each sheet into thirds along its seams, creating three long rectangles per sheet. Cut each rectangle in half so you end up with six rectangles from each sheet.
Step 5: Egg Wash Time!
Mix together your egg and water in a small bowl. Using a pastry brush, apply this egg wash around the edges of each rectangle — this gives them that beautiful golden finish once baked!
Step 6: Prepare for Baking
Preheat your oven to 400°F (200°C) and line two cookie sheets with parchment paper. Place three rectangles per sheet on those lined trays.
Step 7: Create Room for Filling
For each rectangle on your cookie sheet, carefully cut another smaller rectangle shape inside each piece without cutting all the way through — leave about a half-inch edge around! This helps create walls that keep your delicious filling nestled inside while baking.
Step 8: Fill with Cream Cheese Mixture
Spoon about one tablespoon of cream cheese filling into each “box” you’ve created on your pastries. Spread it evenly so every bite will be filled with creamy goodness.
Step 9: Chill Before Baking
Pop one tray in the fridge and place another in the freezer for about five minutes before baking. This quick chill helps keep those buttery layers cold so they rise beautifully while baking.
Step 10: Bake Until Golden Brown
Bake one tray at a time for about 17-20 minutes, until they’re golden brown and flaky! Once baked, let them cool completely before moving on to frosting them with that decadent ganache.
Step 11: Finish with Chocolate Ganache
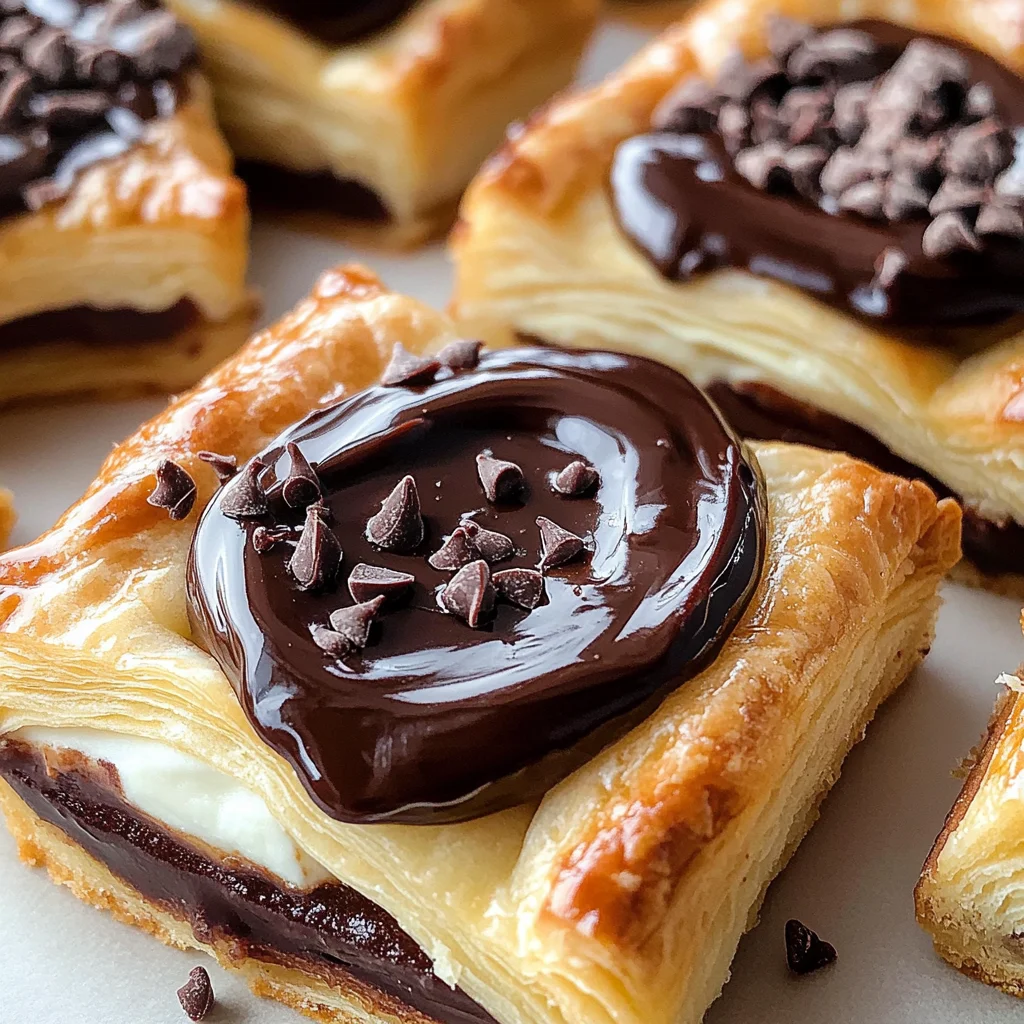
Once cool, generously spoon that rich chocolate ganache over each danish while allowing some cream cheese filling to peek through around the edges — it looks as good as it tastes!
And there you have it — scrumptious Chocolate Cream Cheese Danishes ready to be devoured! Enjoy making these treats; I promise they’ll become a favorite in no time!
Pro Tips for Making Chocolate Cream Cheese Danish
Creating the perfect Chocolate Cream Cheese Danish can be a delightful experience, and with these handy tips, you’ll ensure your pastries turn out beautifully every time!
-
Use chilled ingredients: Keeping your cream cheese and puff pastry cold helps achieve that flaky texture we all love. Warm ingredients can make the dough soft and difficult to work with.
-
Don’t rush the ganache: Allowing the chocolate mixture to sit until it reaches a pudding-like consistency will provide a smooth, luscious topping that enhances the overall flavor without being overly runny.
-
Egg wash for shine: Applying an egg wash not only gives your danishes a beautiful golden color but also adds a glossy finish that makes them look professionally made.
-
Space them well on the baking sheet: Giving each danish enough room while baking prevents them from sticking together. This ensures they rise properly and stay flaky.
-
Let cool completely before frosting: Allowing your danishes to cool completely before adding the ganache prevents it from melting into the filling, keeping those lovely layers intact.
How to Serve Chocolate Cream Cheese Danish
Presenting your Chocolate Cream Cheese Danishes can be just as enjoyable as making them! Here are some creative ideas to elevate their appearance and taste.
Garnishes
- Powdered sugar: A light dusting of powdered sugar adds a touch of sweetness and an elegant finish.
- Fresh berries: Add a few fresh raspberries or strawberries on top of or beside your danish for a pop of color and freshness that complements the rich chocolate.
- Mint leaves: A sprig of mint is not only visually appealing but also provides a refreshing contrast to the sweet flavors.
Side Dishes
- Fresh fruit salad: A mix of seasonal fruits adds brightness and balances the richness of the danish, making for a well-rounded dessert experience.
- Coffee or tea: Pairing your danish with a cup of coffee or herbal tea enhances its flavor and creates a cozy atmosphere—perfect for brunch or an afternoon treat.
- Whipped coconut cream: For an extra indulgent touch, serve with whipped coconut cream. Its lightness contrasts beautifully with the dense chocolate filling.
- Vanilla ice cream: A scoop of vanilla ice cream on the side offers a creamy complement to the warm danish, creating a delightful contrast in temperatures.
With these tips and serving suggestions, your Chocolate Cream Cheese Danishes will not only taste delicious but also look stunning on any table! Enjoy sharing this treat with family and friends, or keep them all to yourself—they’re just that good!
Make Ahead and Storage
These Chocolate Cream Cheese Danishes are perfect for meal prep! You can easily whip them up in advance to enjoy fresh pastries anytime you crave a sweet treat.
Storing Leftovers
- Store any leftover danishes in an airtight container at room temperature for up to 2 days.
- For longer storage, keep them in the refrigerator for up to a week.
Freezing
- Freeze unbaked danish rectangles by placing them on a baking sheet lined with parchment paper until solid.
- Once frozen, transfer them to a freezer-safe bag or container. They can be stored for up to 2 months.
- When ready to bake, no need to thaw; just add a few extra minutes to your baking time.
Reheating
- To reheat, place the danishes in a preheated oven at 350°F for about 10 minutes, or until warmed through.
- Alternatively, you can microwave them for about 15-20 seconds, but be cautious as this may affect the pastry’s texture.
FAQs
Here are some common questions you might have about making Chocolate Cream Cheese Danishes!
Can I make the Chocolate Cream Cheese Danish without cream cheese?
You could use a vegan cream cheese alternative or even ricotta cheese if you’re looking for something different! Just keep in mind that the flavor and texture will vary.
How do I store Chocolate Cream Cheese Danishes?
Storing these delightful pastries is easy! Keep leftovers in an airtight container at room temperature for up to 2 days or refrigerate them for up to a week.
Can I freeze Chocolate Cream Cheese Danishes?
Absolutely! You can freeze unbaked rectangles and keep them handy for fresh-baked pastries anytime. Just bake straight from the freezer with a little extra time.
What should I serve with my Chocolate Cream Cheese Danish?
These danishes pair wonderfully with a hot cup of coffee or tea. You could also serve them alongside fresh fruit for a balanced treat!
Final Thoughts
I hope you enjoy making these Chocolate Cream Cheese Danishes as much as I do! They’re not only easy to prepare but also offer that delightful combination of creamy and chocolatey goodness that makes every bite special. Don’t hesitate to try this recipe; it’s sure to become a favorite in your household. Happy baking!
Chocolate Cream Cheese Danish

Indulge in the delightful experience of homemade Chocolate Cream Cheese Danishes that combine flaky puff pastry with a rich, creamy filling and decadent chocolate ganache. These pastries are surprisingly easy to make, thanks to frozen puff pastry, making them perfect for busy weeknights or special gatherings. Fresh out of the oven, they offer a warm, comforting treat that’s sure to impress friends and family alike. Enjoy them as a breakfast item, brunch delight, or a sweet dessert that will bring smiles all around.
- Prep Time: 30 minutes
- Cook Time: 20 minutes
- Total Time: 50 minutes
- Yield: Approximately 12 servings 1x
- Category: Dessert
- Method: Baking
- Cuisine: American
Ingredients
- 2 frozen puff pastry sheets
- 8 oz cream cheese (room temperature)
- 1/3 cup white granulated sugar
- 2 tsp pure vanilla extract
- 1 cup semi-sweet chocolate chips
- 3/4 cup heavy cream
- 1 large egg (for egg wash)
- 1 tsp water (for egg wash)
Instructions
- Thaw the puff pastry on the counter for about 30 minutes.
- Prepare the ganache by heating heavy cream until steaming and pouring it over chocolate chips. Stir until smooth and let cool.
- Beat cream cheese with sugar and vanilla until smooth.
- Roll out thawed pastry and cut into rectangles.
- Apply egg wash to edges of each rectangle.
- Cut smaller rectangles inside each piece without cutting through.
- Fill with cream cheese mixture and chill before baking.
- Bake at 400°F for 17-20 minutes until golden brown.
- Cool completely before topping with chocolate ganache.
Nutrition
- Serving Size: 1 danish (60g)
- Calories: 215
- Sugar: 10g
- Sodium: 80mg
- Fat: 14g
- Saturated Fat: 8g
- Unsaturated Fat: 5g
- Trans Fat: 0g
- Carbohydrates: 19g
- Fiber: 1g
- Protein: 3g
- Cholesterol: 50mg