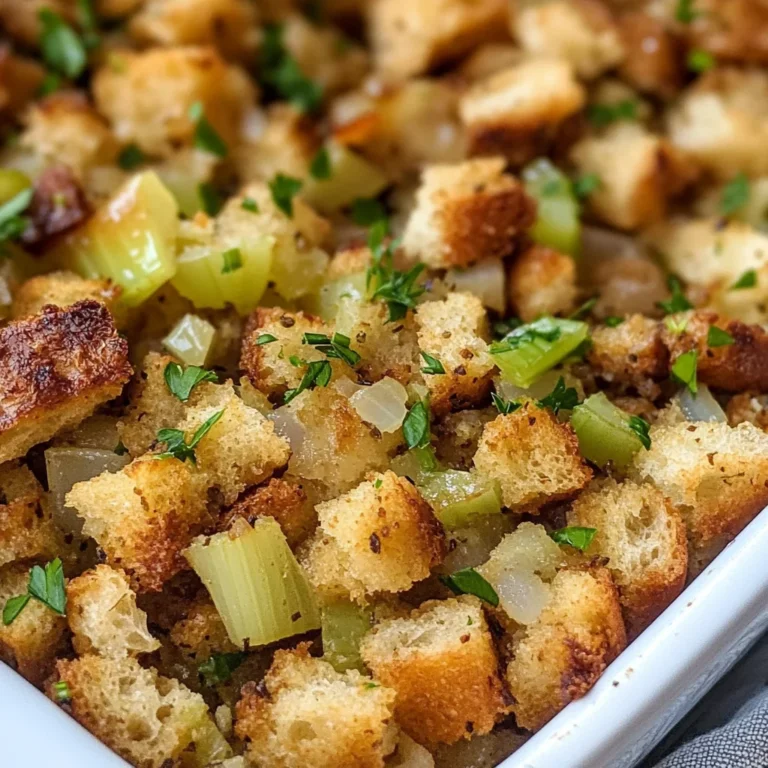
Pull Apart Garlic Bread Recipe
If you’re looking for a cozy and delicious way to elevate your next meal, this Pull Apart Garlic Bread Recipe is a must-try! It transforms a simple loaf of bread into an aromatic delight that’s perfect for gatherings or just a cozy night in. The best part? You can share it with family and friends, making it a fantastic choice for busy weeknights or celebratory feasts.
This recipe holds a special place in my heart because it combines simple ingredients to create something truly mouthwatering. Every bite is bursting with flavor, thanks to the rich garlic butter mixture that seeps into every crevice of the bread. Whether you’re serving it as an appetizer or alongside your favorite pasta dish, this pull-apart garlic bread will surely impress everyone at the table!
Why You’ll Love This Recipe
- Easy to Prepare: This recipe comes together quickly, making it perfect for any occasion.
- Family-Friendly: Kids and adults alike will love pulling apart their own pieces of soft, garlicky goodness!
- Make-Ahead Convenience: You can prepare the garlic butter mix ahead of time to save even more time on busy nights.
- Deliciously Flavorful: The combination of garlic, herbs, and optional cheese makes each bite irresistible.
- Perfect for Sharing: Its unique structure encourages sharing and adds fun to any meal.

Ingredients You’ll Need
For this Pull Apart Garlic Bread Recipe, you’ll need some simple and wholesome ingredients that come together beautifully. Here’s what you’ll need:
For the Bread
- 1 large round loaf of crusty bread (sourdough works great!)
For the Garlic Butter Mixture
- 1 cup (2 sticks) unsalted butter, softened
- 8 cloves of garlic (minced)
- 1/4 cup fresh parsley (finely chopped)
- 2 tablespoons fresh chives (finely chopped)
- 1/2 teaspoon salt
- 1/4 teaspoon black pepper
Optional Add-Ins
- 1 cup shredded mozzarella or parmesan cheese
Variations
One of the best things about this Pull Apart Garlic Bread Recipe is its flexibility! You can easily customize it to suit your tastes or make use of what you have on hand.
- Add Extra Herbs: Mix in other fresh herbs like basil or oregano for added flavor.
- Change the Cheese: Try using different types of cheese like cheddar or gouda for a unique twist.
- Spice It Up: Add a pinch of red pepper flakes if you enjoy a bit of heat in your bread.
- Go Vegan: Substitute the butter with plant-based alternatives and skip the cheese for a vegan-friendly option.
How to Make Pull Apart Garlic Bread Recipe
Step 1: Preheat Your Oven
Start by preheating your oven to 350°F (175°C). This step ensures that your garlic bread bakes evenly, allowing that delicious buttery aroma to fill your kitchen!
Step 2: Make the Garlic Butter Mixture
In a bowl, combine your softened butter with minced garlic, chopped parsley, chives, salt, and pepper. Mixing these ingredients well creates a rich base that flavors every piece of bread. Don’t be shy—let that garlic shine!
Step 3: Prepare the Bread
Take your loaf of crusty bread and carefully make diagonal cuts across the top about 1 inch apart. Be cautious not to cut all the way through; you want the bottom crust intact. These cuts allow for all those amazing flavors to seep in!
Step 4: Add the Garlic Butter
Rotate your loaf 90 degrees and make another set of diagonal cuts to form a beautiful crosshatch pattern. Then, using your fingers or a small spatula, generously spread that luscious garlic butter mixture between each cut. The more butter gets in there, the better!
Step 5: Optional Cheese Addition
If you’re feeling cheesy (and I hope you are!), sprinkle shredded cheese between the cuts as well. This will melt into gooey perfection while baking.
Step 6: Wrap and Bake
Wrap your entire loaf in aluminum foil but leave the top slightly open so it can crisp up nicely. Place it on a baking sheet and pop it into your preheated oven.
Step 7: Final Touches
Bake for about 15-20 minutes before unwrapping the top part of the foil. Bake for an additional 5-10 minutes until it’s golden brown and crispy on top. This gives you that perfect contrast between crunchy crust and soft inside.
Step 8: Serve Warm
Once out of the oven, let it cool for just a few minutes before serving warm! Trust me; everyone will want to dig in as soon as they catch a whiff of that garlicky goodness.
Enjoy sharing this delightful Pull Apart Garlic Bread with loved ones!
Pro Tips for Making Pull Apart Garlic Bread Recipe
Creating the perfect pull apart garlic bread is easier than you might think! With a few simple tricks, you can elevate your dish and impress your family or guests.
- Choose the right bread: Opt for a crusty round loaf like sourdough for the best texture. Its sturdy exterior holds up to the buttery goodness while offering a delightful crunch.
- Make it ahead of time: Prepare the garlic butter mixture in advance and store it in the fridge. This allows the flavors to meld beautifully, making each bite more delicious!
- Don’t skip the foil: Wrapping your bread in aluminum foil helps keep it moist during baking. Unwrapping it toward the end gives you that crispy top we all love!
- Experiment with herbs: Feel free to add other herbs like thyme or oregano for a unique twist. Fresh herbs brighten up the flavor and make your garlic bread even more aromatic.
- Serve it hot: For the best experience, serve this garlic bread warm out of the oven. The cheese (if used) will be gooey, and the aroma will be irresistible!
How to Serve Pull Apart Garlic Bread Recipe
Serving your pull apart garlic bread can be as much fun as making it! Here are some creative ideas to present this crowd-pleasing dish beautifully.
Garnishes
- Fresh parsley: A sprinkle of finely chopped parsley adds a pop of color and freshness that complements the rich flavors.
- Chili flakes: For those who enjoy a little heat, a light dusting of chili flakes on top can enhance the flavor profile and provide an exciting kick.
Side Dishes
- Mixed Green Salad: A refreshing salad with crisp greens, cherry tomatoes, and a light vinaigrette balances out the richness of garlic bread perfectly.
- Roasted Vegetables: Seasonal roasted veggies not only add color to your meal but also provide healthy nutrients that pair nicely with this dish.
- Pasta Primavera: Lightly sautéed seasonal vegetables tossed with pasta creates a vibrant side that complements both Italian and American flavors.
- Soup: A warm bowl of tomato basil or minestrone soup makes for a comforting pairing that enhances the overall meal experience.
Enjoy your pull apart garlic bread as an appetizer or alongside your favorite dishes – it’s sure to become a staple at your gatherings!

Make Ahead and Storage
This pull apart garlic bread recipe is a fantastic option for meal prep! You can easily make it ahead of time, allowing the flavors to meld beautifully, and enjoy it fresh from the oven whenever you’re ready.
Storing Leftovers
- Allow the bread to cool completely before storing.
- Wrap any leftover bread tightly in plastic wrap or aluminum foil.
- Store in an airtight container at room temperature for up to 2 days.
Freezing
- Wrap the bread tightly in plastic wrap and then in aluminum foil to prevent freezer burn.
- Label with the date and freeze for up to 3 months.
- To enjoy, thaw overnight in the refrigerator before reheating.
Reheating
- Preheat your oven to 350°F (175°C).
- Remove wrapping and place the bread on a baking sheet.
- Cover loosely with aluminum foil and heat for about 10-15 minutes until warmed through.
FAQs
Here are some common questions that might pop up while making this delicious pull apart garlic bread!
Can I use different herbs in the Pull Apart Garlic Bread Recipe?
Absolutely! Feel free to experiment with herbs like oregano, thyme, or basil. Each herb will add its own unique flavor profile, perfect for personalizing your dish!
How do I make a gluten-free Pull Apart Garlic Bread Recipe?
Simply substitute the crusty bread with a gluten-free loaf. There are many great options available that offer a similar texture and taste!
Can I make this Pull Apart Garlic Bread Recipe without cheese?
Yes! The garlic butter mixture is flavorful enough on its own. If you prefer a dairy-free version, you can skip the cheese entirely or use dairy-free cheese alternatives.
What can I serve with Pull Apart Garlic Bread?
This dish pairs wonderfully with pasta, salads, or soups. It’s also a great addition to any gathering as an appetizer!
Final Thoughts
I hope you find joy in making this pull apart garlic bread recipe! Its warm, inviting flavors and easy-to-share design make it perfect for gatherings or cozy nights at home. Enjoy every buttery bite and don’t hesitate to share your creations. Happy baking!
Pull Apart Garlic Bread
Elevate your gatherings and cozy nights in with this irresistible Pull Apart Garlic Bread Recipe. This delightful dish turns a simple loaf into an aromatic masterpiece, filled with a rich garlic butter mixture that seeps into every crevice. Perfect as an appetizer or alongside your favorite pasta, this pull-apart bread is sure to impress family and friends alike. Plus, it’s incredibly easy to prepare, making it ideal for busy weeknights or festive occasions. Each bite bursts with flavor, leaving everyone wanting more!
- Prep Time: 15 minutes
- Cook Time: 30 minutes
- Total Time: 45 minutes
- Yield: Approximately 8 servings 1x
- Category: Appetizer
- Method: Baking
- Cuisine: American
Ingredients
- 1 large round loaf of crusty bread (sourdough recommended)
- 1 cup unsalted butter (softened)
- 8 cloves garlic (minced)
- 1/4 cup fresh parsley (finely chopped)
- 2 tablespoons fresh chives (finely chopped)
- 1/2 teaspoon salt
- 1/4 teaspoon black pepper
- Optional: 1 cup shredded mozzarella or parmesan cheese
Instructions
- Preheat oven to 350°F (175°C).
- In a bowl, mix softened butter, minced garlic, parsley, chives, salt, and pepper until well combined.
- Cut diagonal slits across the top of the bread about 1 inch apart without cutting all the way through.
- Rotate the loaf and make another set of diagonal cuts for a crosshatch pattern.
- Generously spread garlic butter between each cut; add cheese if desired.
- Wrap in aluminum foil (leaving the top slightly open) and place on a baking sheet.
- Bake for 15-20 minutes; then unwrap and bake for another 5-10 minutes until golden brown.
- Serve warm and enjoy!
Nutrition
- Serving Size: 1 slice (85g)
- Calories: 290
- Sugar: 0g
- Sodium: 370mg
- Fat: 24g
- Saturated Fat: 15g
- Unsaturated Fat: 9g
- Trans Fat: 0g
- Carbohydrates: 18g
- Fiber: 1g
- Protein: 3g
- Cholesterol: 60mg


