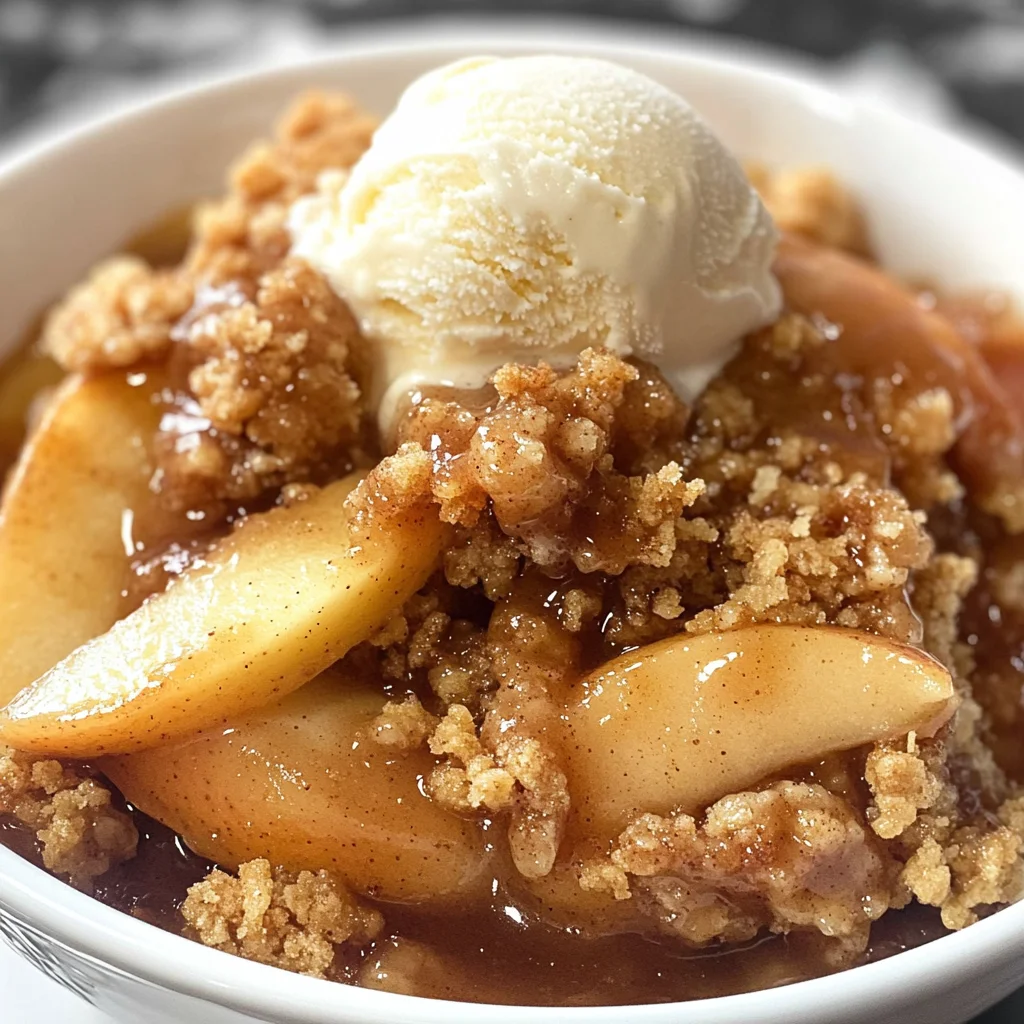
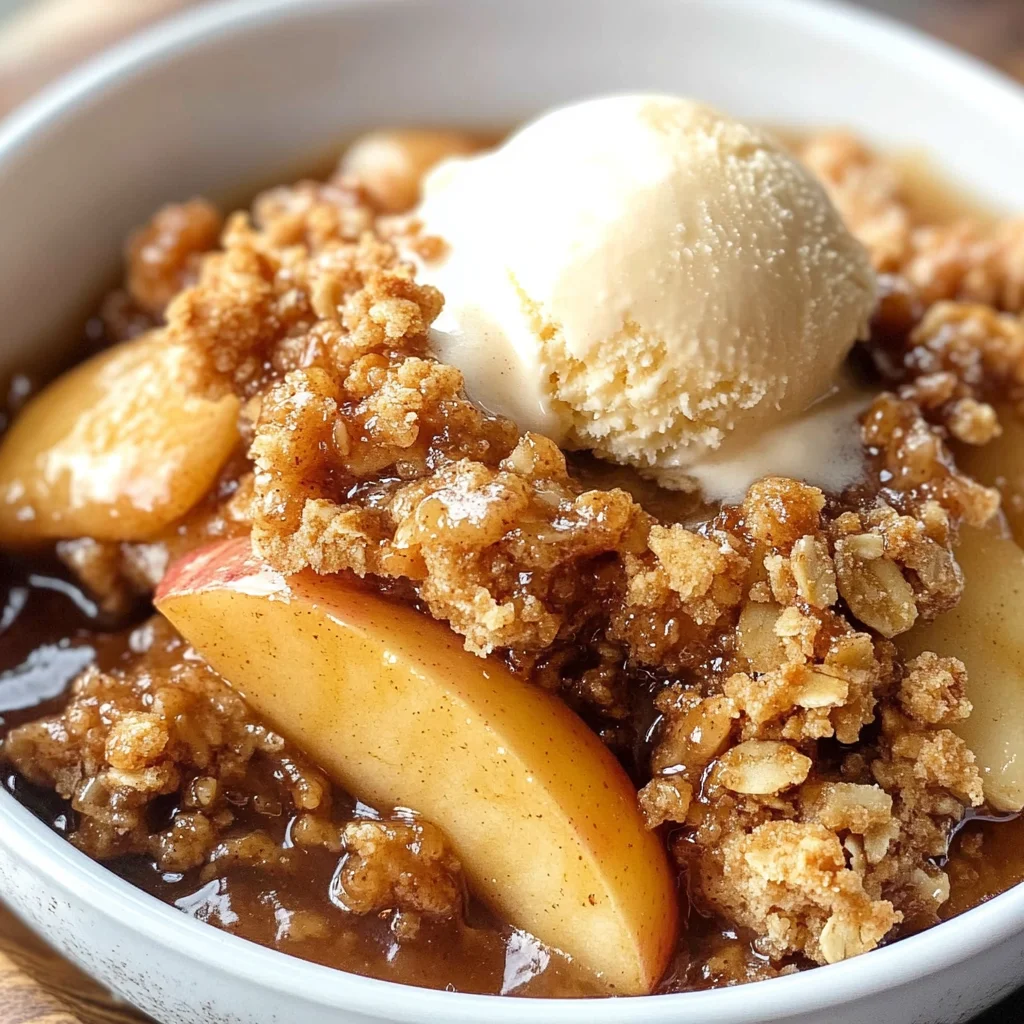
The Best Apple Crisp
If you’re looking for a dessert that captures the essence of fall, look no further than The Best Apple Crisp! This warm, comforting dish is like a hug in a bowl. The combination of sweet, tender apples topped with a crunchy, buttery oat mixture is simply irresistible. Whether it’s a busy weeknight or a family gathering, this recipe is always a hit. Plus, it fills your kitchen with the most delightful aroma that will have everyone eagerly waiting for their first bite!
What makes this Apple Crisp special is not just its delicious taste but also how easy it is to whip up. With just a handful of wholesome ingredients, you can create something truly beautiful and satisfying.
Why You’ll Love This Recipe
- Quick and easy: This recipe comes together in just 10 minutes of prep time, making it perfect for busy days.
- Family-friendly: Everyone loves warm apple crisp! It’s a dessert that brings smiles to faces of all ages.
- Make-ahead convenience: You can prepare it earlier in the day and pop it in the oven when you’re ready to serve.
- Delicious flavor: The sweet apples combined with the cinnamon oat topping create an explosion of flavor that’s simply unforgettable.
Ingredients You’ll Need
Gathering these simple, wholesome ingredients makes the process feel even more special. You’ll likely find most of them in your pantry already!
For the Filling:
- 5 cups fresh apples (sliced)
- 1/2 cup granulated white sugar
- 1/2 tsp cinnamon
- 1 teaspoon vanilla extract
For the Topping:
- 1/2 cup all-purpose flour
- 1/3 cup old-fashioned oats
- 2/3 cup packed brown sugar
- 1/4 tsp salt
- 1/2 teaspoon cinnamon
- 1/4 cup (1/2 stick) butter (melted)
Variations
One of the best things about this Apple Crisp recipe is its flexibility! Feel free to mix things up based on what you have on hand or what flavors you love.
- Add nuts: Toss in some chopped pecans or walnuts for added crunch and flavor.
- Mix in berries: Combine sliced apples with blueberries or raspberries for a delicious twist.
- Use different spices: Try adding nutmeg or ginger for an extra layer of warmth and spice.
- Swap the fruit: Substitute pears or peaches if you’re looking for something different.
How to Make The Best Apple Crisp
Step 1: Preheat the Oven
Preheat your oven to 350 degrees Fahrenheit. This step is crucial because it ensures your apple crisp cooks evenly and comes out perfectly golden brown.
Step 2: Prepare the Apples
In a large bowl, combine the sliced apples with granulated sugar, cinnamon, and vanilla extract. Mix until all the apple slices are coated. Pour this mixture into your greased baking dish. This helps to draw out the juices from the apples as they bake, creating a delicious syrupy filling.
Step 3: Make the Topping
In another medium bowl, mix together flour, oats, brown sugar, salt, and cinnamon. Pour in melted butter and stir until everything is well combined and crumbly. This topping adds that delightful crunch we all crave!
Step 4: Bake to Perfection
Sprinkle the crumb mixture evenly over the top of your apple filling. Bake in your preheated oven for 45-60 minutes. Keep an eye on it! You want the fruit to be soft and bubbly while achieving that golden-brown topping.
Let it cool slightly before serving—this will help set everything together beautifully. Serve warm with a scoop of vanilla ice cream on top for that perfect finish! Enjoy every last bite!
Pro Tips for Making The Best Apple Crisp
Making the best apple crisp is all about using quality ingredients and a little know-how. Here are some tips to help you achieve that perfect, golden-brown topping and tender apples.
-
Choose the Right Apples: Opt for a mix of sweet and tart apples like Granny Smith and Honeycrisp. This combination gives your crisp a delightful balance of flavors.
-
Don’t Skimp on the Topping: A generous layer of the buttery oat mixture is key to achieving that signature crunchy texture. Make sure to sprinkle it evenly over the apples for consistent baking.
-
Let It Cool Before Serving: Allowing your apple crisp to cool for about 10-15 minutes after baking helps the juices thicken up a bit, making it easier to serve and enhancing the overall flavor.
-
Experiment with Spices: While cinnamon is classic, adding nutmeg or ginger can give your apple crisp an extra layer of warmth and depth. Just a pinch can make a big difference!
-
Use Fresh Ingredients: Fresh lemons, if desired, can be squeezed over the apples before baking to enhance their flavor and freshness. Always use fresh oats too; they provide the best texture!
How to Serve The Best Apple Crisp
Serving apple crisp can be as creative as you want it to be! Here are some ideas to elevate your presentation and make this dish truly special for any occasion.
Garnishes
- Whipped Coconut Cream: A dollop of whipped coconut cream adds a delightful creaminess that complements the warm apples beautifully.
- Chopped Nuts: Toasted walnuts or pecans sprinkled on top add a nice crunch and enhance the nutty flavor of the oats.
- Cinnamon Sugar Dusting: A light sprinkle of cinnamon sugar right before serving gives an extra touch of sweetness and visual appeal.
Side Dishes
- Vanilla Ice Cream: The classic pairing! The cold, creamy texture of vanilla ice cream balances perfectly with warm apple crisp, creating a comforting dessert experience.
- Caramel Sauce: Drizzle some warm caramel sauce over each serving for an indulgent touch that brings out all the flavors of fall.
- Fresh Fruit Salad: A refreshing fruit salad on the side adds brightness to your meal. Consider using seasonal fruits like pears, oranges, or berries for contrast.
- Spiced Tea or Cider: Serve alongside a warm spiced tea or cider for a cozy, autumnal vibe that complements the flavors in your apple crisp wonderfully.
With these tips and serving suggestions, you’re well on your way to impressing family and friends with The Best Apple Crisp! Enjoy every bite!
Make Ahead and Storage
This Apple Crisp recipe is perfect for meal prep, making it easy to enjoy a delightful dessert whenever you crave something sweet. You can make it ahead of time and store it for later, so you can indulge without any hassle!
Storing Leftovers
- Allow the apple crisp to cool completely before storing.
- Cover tightly with plastic wrap or transfer to an airtight container.
- Store in the refrigerator for up to 3-4 days.
Freezing
- Let the apple crisp cool completely.
- Wrap individual portions tightly in plastic wrap and then in aluminum foil or place in a freezer-safe container.
- Freeze for up to 3 months.
Reheating
- To reheat from frozen, thaw overnight in the refrigerator before reheating.
- Preheat your oven to 350°F (175°C).
- Place the apple crisp in an oven-safe dish and cover with foil.
- Bake for about 20-25 minutes until warmed through.
FAQs
Here are some common questions about making The Best Apple Crisp.
Can I use different types of apples for The Best Apple Crisp?
Absolutely! While Granny Smith apples are fantastic for their tartness, you can mix them with sweeter varieties like Honeycrisp, Fuji, or Gala for a more complex flavor.
How do I know when The Best Apple Crisp is done baking?
The best way to tell if your apple crisp is ready is by checking that the apples are soft and the topping has turned a lovely golden brown. This usually takes about 45-60 minutes at 350°F (175°C).
Can I make The Best Apple Crisp gluten-free?
Yes! Simply substitute all-purpose flour with a gluten-free flour blend and ensure that your oats are certified gluten-free.
What should I serve with The Best Apple Crisp?
While it’s delicious on its own, serving it warm with a scoop of vanilla ice cream or whipped coconut cream elevates this dessert even more!
Final Thoughts
I hope you enjoy making The Best Apple Crisp as much as I do! This warm, comforting dessert brings together the cozy flavors of fall and is sure to become a beloved staple in your home. Whether you’re sharing it with family or enjoying it after a long day, there’s nothing quite like the joy of homemade apple crisp. Happy baking!
The Best Apple Crisp
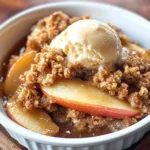
Indulge in the warmth of The Best Apple Crisp, a delightful dessert that perfectly captures the spirit of fall. This comforting dish features tender, sweet apples enveloped in a crunchy, buttery oat topping that will have your taste buds singing. Whether for a busy weeknight or a festive family gathering, this apple crisp is always a crowd-pleaser. With just a handful of wholesome ingredients and straightforward steps, you can create this irresistible treat that fills your kitchen with an enchanting aroma. Enjoy it warm on its own or elevate it with whipped coconut cream or vanilla ice cream for an extra special touch!
- Prep Time: 10 minutes
- Cook Time: 45 minutes
- Total Time: 55 minutes
- Yield: Serves approximately 8 people 1x
- Category: Dessert
- Method: Baking
- Cuisine: American
Ingredients
- 5 cups fresh apples (sliced)
- 1/2 cup granulated white sugar
- 1 tsp vanilla extract
- 1/2 cup all-purpose flour
- 1/3 cup old-fashioned oats
- 2/3 cup packed brown sugar
- 1/4 cup butter (melted)
- 1/2 tsp cinnamon
- 1/4 tsp salt
Instructions
- Preheat your oven to 350°F (175°C).
- In a large bowl, mix sliced apples with granulated sugar, vanilla extract, and cinnamon until coated. Transfer to a greased baking dish.
- In another bowl, combine flour, oats, brown sugar, salt, and cinnamon. Stir in melted butter until crumbly.
- Evenly sprinkle the topping over the apples. Bake for 45-60 minutes until bubbly and golden brown.
- Let cool slightly before serving.
Nutrition
- Serving Size: 1 cup (200g)
- Calories: 320
- Sugar: 24g
- Sodium: 135mg
- Fat: 12g
- Saturated Fat: 7g
- Unsaturated Fat: 4g
- Trans Fat: 0g
- Carbohydrates: 52g
- Fiber: 5g
- Protein: 3g
- Cholesterol: 20mg